
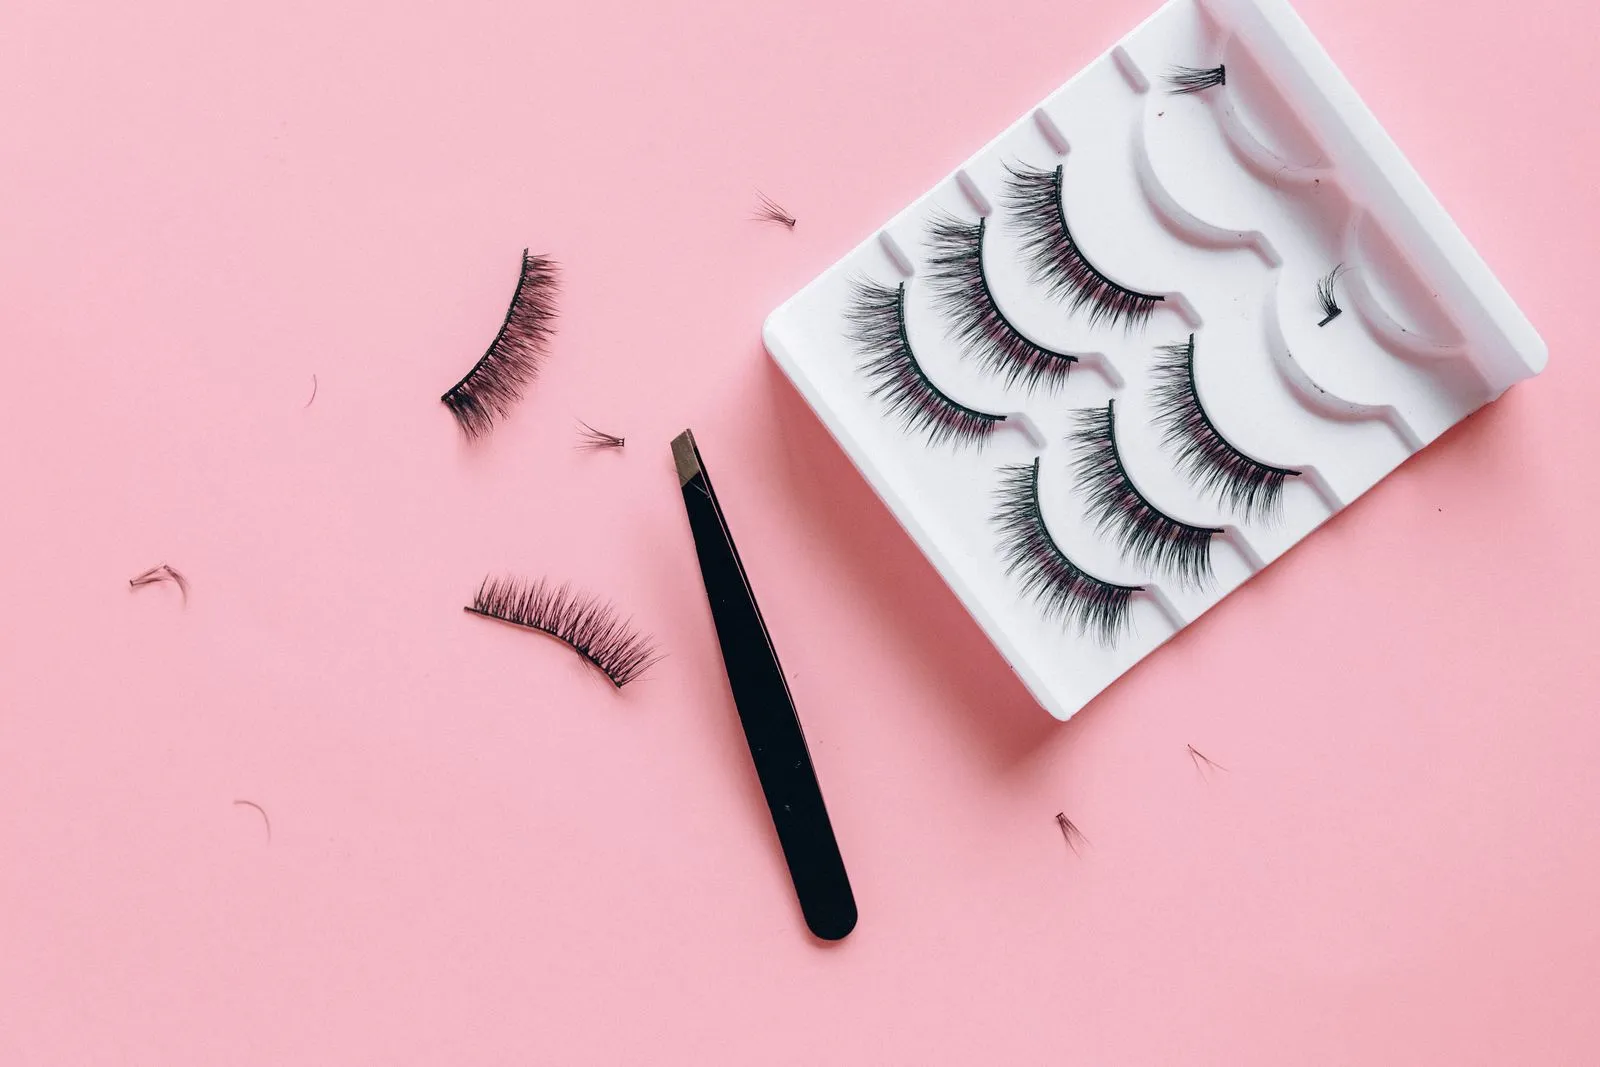
Isolation means separating one natural lash from its neighbors before attaching an extension. It can feel slow at first, but careful isolation helps prevent lashes from sticking together, reduces pulling as natural lashes grow, and gives each extension a neat base. Good technique starts with a clear view, stable hands, and suitable tools. Use these beginner-friendly practice tips to build control before working on clients, and follow your training and product instructions throughout.
Why Isolation Matters
Natural lashes grow at different rates and shed on their own cycles. If an extension bonds to more than one natural lash, those lashes can tug against each other as they move and grow. This may cause discomfort or unwanted strain. Isolating a single lash before placing an extension helps each natural lash move independently.
Clean isolation also supports an even, tidy result. When neighboring lashes are stuck together, the set can look uneven and become harder to brush or maintain. Check each attachment point as you work. If you notice a bond joining multiple lashes, separate them promptly using the appropriate technique rather than pulling or forcing them apart.
Set Up for a Clear View
Position your client comfortably and make sure the lashes are clean, dry, and secured according to your training. Use lighting that shows the lash line clearly without creating harsh glare. Adjust your chair and the client’s head position so you can see the base of the lashes without leaning or twisting for long periods.
Choose isolation tweezers that feel controlled in your hand and are suitable for your technique. Keep your working area organized, and place tools where you can reach them without shifting your posture. Before beginning, check that pads or tape are secure and do not touch the eye. If your view is blocked or the client is uncomfortable, pause and reset.
Practice Controlled Isolation
Start with a mannequin or practice strip, following your course guidance. Use one tweezer to isolate a single lash and the other to approach the exposed lash with an extension. Move slowly enough to confirm that neighboring lashes remain separate. Focus first on consistent tool control and a clear view; speed comes later.
On a practice strip, try isolating lashes in different directions and at different angles. Keep your hands supported where possible, and use small movements instead of sweeping the tips through the lash line. After each placement, inspect the bond and gently check nearby lashes with your tool. If they are connected, correct the attachment before moving on.
Build Safer Work Habits
Do not rush when a lash is difficult to reach. Reposition your tools, improve the lighting, or ask the client to adjust their head slightly while keeping their eyes closed. Never press a tweezer tip against the eyelid or use force to separate lashes. Stop if the client reports pain, burning, or unusual irritation, and follow your training and product safety instructions.
Practice in short, focused sessions and note what makes isolation difficult, such as poor visibility, hand fatigue, or tool angle. Take breaks when your grip or posture becomes strained. Before offering services, get supervised practice and feedback from a qualified trainer. Perth Lash Academy can be contacted about training options, but careful practice and sound safety habits remain essential.
Reliable isolation comes from patience, visibility, and controlled tool movement. Practice separating one natural lash at a time, inspect every bond, and pause whenever you cannot work comfortably or clearly. Keep building your technique with qualified guidance, and consider reaching out to a lash trainer for support as you develop your skills.